
Reverse Kegels for Women
Reverse Kegels: The Art of Letting Go is an excellent exercise that helps improve fitness, burn calories, and boost overall health. Did you know that a "tight" pelvic floor can be just as problematic as a weak one? Reverse Kegels teach you to fully relax and lengthen, bringing balance and relief back to your core. This exercise is suitable for all fitness levels and can be done at home or in the gym.
Did you know that a "tight" pelvic floor can be just as problematic as a weak one? Reverse Kegels teach you to fully relax and lengthen, bringing balance and relief back to your core.
Reverse Kegels: Why "Letting Go" is Your New Power Move
In the world of pelvic health, we are constantly told to squeeze, lift, and tighten. But what if your muscles are *already* too tight? Imagine walk-around all day with your fists clenched—your hands would eventually get weak, painful, and tired. The same thing happens to your pelvic floor. Reverse Kegels are the essential counterpart to traditional training. They are about the "drop," the "spread," and the total release of internal tension.
I like to think of this as "Pelvic Yoga." It’s about teaching your body that it is safe to relax. For women dealing with pelvic pain, painful intimacy, or even difficulty fully emptying their bladder, learning to Reverse Kegel is often the "missing link" to feeling normal again. It’s not about being "loose"; it’s about having a muscle that is flexible and responsive enough to do its job properly.
The "Un-Clenching" Benefits
- Relief from Pelvic Pain: Most chronic pelvic pain is rooted in "guarding"—muscles that won't stop clenching. This exercise breaks that cycle.
- Pain-Free Intimacy: By learning to consciously relax the floor, you can reduce or eliminate discomfort during intercourse.
- Better Digestion & Bladder Health: A relaxed floor allows for a full, easy release when you’re in the bathroom, preventing straining and incomplete emptying.
- Childbirth Preparation: This is the #1 skill for labor. You need to know how to "get out of the way" and let your body open during delivery.
The "Drop" Technique
This is the opposite of a squeeze. Instead of a "lift," you are looking for a gentle "opening" sensation.
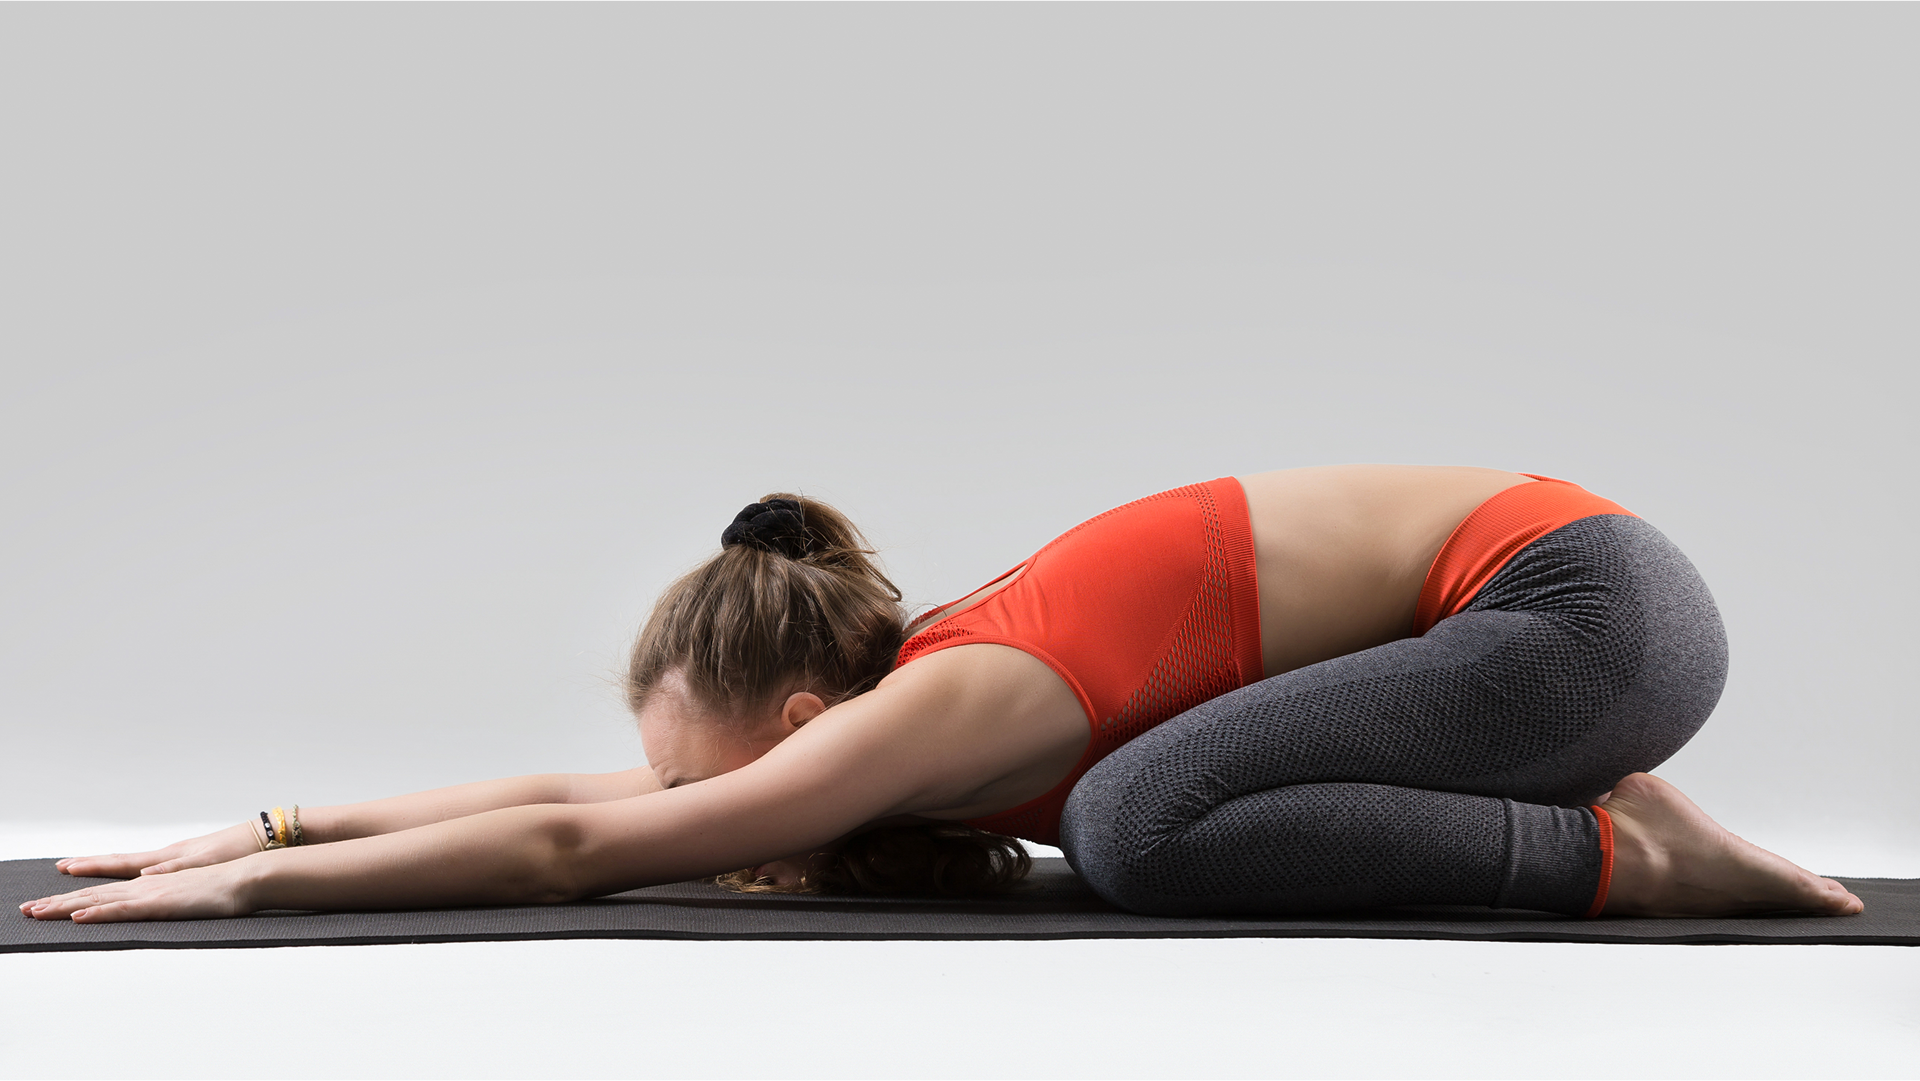
- The Happy Baby: Lie on your back and pull your knees toward your chest (or into a "Happy Baby" yoga pose). This naturally opens your pelvis.
- The "Flower Bloom" Image: As you inhale, imagine your pelvic floor is a flower opening its petals toward your feet.
- The Brain Check: Ask yourself, "Am I clenching my jaw?" If the answer is yes, your pelvic floor is likely clenching too. Soften your face to soften your floor.
The "Release" Routine
Try this for 5 minutes before bed. It’s incredibly grounding and helps your body shift out of "fight or flight" mode.
| Step | The Action | The "Human" Tip |
|---|---|---|
| The Deep Inhale | Breathe into your low belly. Feel the "pouf" in your pelvic floor. | Imagine the air is a gentle balloon expanding between your sit-bones. |
| The Long Exhale | Sigh it out (haaaaaa). Let everything melt. | Don't "do" anything. Just observe the muscles getting heavier. |
| The 10% Check | Do a tiny Kegel, then 100% let go. | Most of us only relax to 50%. See if you can find that extra 50% of "letting go." |
A Pro Tip for Childbirth Preparation
Practice on the "Throne." The next time you are on the toilet, practice your Reverse Kegel as you start your stream. Don't push! Simply "allow" the muscles to widen and drop. If you are pregnant, this is the exact sensation you will use during the "pushing" phase of labor—which is actually more of a "releasing" phase. Mastering this now will make you feel much more in control when the big day arrives.
Closing Thoughts
Strength is nothing without flexibility. By honoring the "release" as much as the "squeeze," you're giving your body the balance it needs to function perfectly. Be gentle with yourself, take those deep breaths, and enjoy the feeling of finally letting go of all that internal stress. You deserve to feel comfortable and free in your own body.
Release the tension—find your flow!
⚠️ Medical Disclaimer
If you have chronic pelvic pain, endometriosis, or painful intercourse, Reverse Kegels are often the first line of defense. However, always seek a professional diagnosis from a pelvic health therapist to ensure you're using the right technique.
👨⚕️ Expert Review
Reviewed by Dr. Eva Rostova, MD - Sports Medicine Specialist
🛡️ Safety Notes
No bearing down! This is not a "push." It is a gentle release, like a flower blooming. If you're straining like you're on the toilet, you're doing too much.
✅ Content Quality
Human-authored, expert-reviewed fitness guide
📅 Last Updated
2025-04-01
Explore More Kegel Exercises for Women
"SmartyFit's Kegel guides helped me recover after pregnancy and feel more confident. The instructions are clear and easy to follow!"— M. Singh, SmartyFit User
Expert Tip
For best results, do Kegels regularly, focus on slow and controlled movements, and don't overdo it. Consistency is key for pelvic health.
Frequently Asked Questions
How often should women do Kegel exercises?
Most women benefit from doing Kegels 3–5 times per week, with 2–3 sets of 10–15 reps per session.
Can Kegels help after pregnancy?
Yes, Kegel exercises can help restore pelvic floor strength after pregnancy and childbirth. Always consult your doctor before starting postpartum exercise.
How do I know if I'm doing Kegels correctly?
You should feel a lifting and tightening of the pelvic floor muscles. Avoid squeezing your glutes or thighs.
Are Kegels safe for all women?
Yes, but if you have any pelvic pain or medical conditions, consult a healthcare provider before starting.